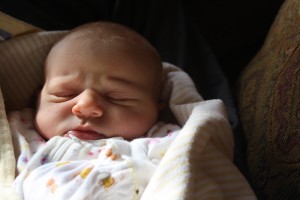
Sage is 1!

Another Birthday. Yay! Sage is the daughter of friend-of-citymade Kyan. Last year we made Sage a bib/hat/burp cloth set from a tshirt (a year has already past?).

For Sage’s 1st Birthday, we thought it would be fun to do another project with a tshirt.

The up-cycled tshirt dress.

Melany had a long sleeved tshirt that made the perfect summer dress or shirt for a beautiful 1-year-old girl.

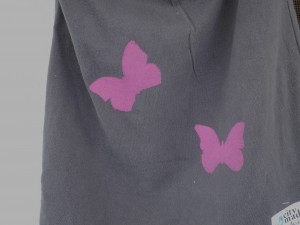
We painted buterflies fluttering for extra fun. And, Melany made a Butterfly gift bag for extra, extra fun.


Posted in baby, Clothing | Tagged , | Leave a comment

Is Your Basket Ready?

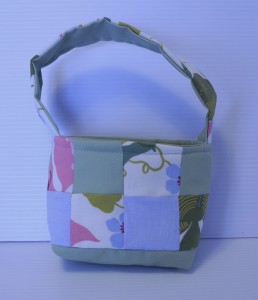
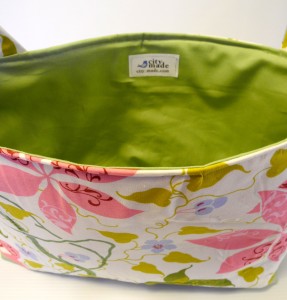
Easter is here (for those of us who celebrate it), but even if you don’t celebrate it, you could always use a fabric basket, right? That is just why citymade is here.  And so we have made some baskets.

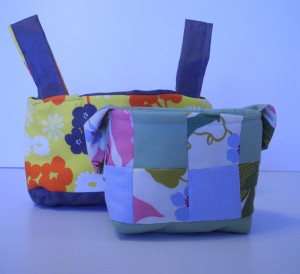
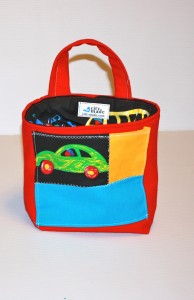
We started making these little baskets. Perfect for small items like keys or pens. It’s fun combining the different colors and patterns.

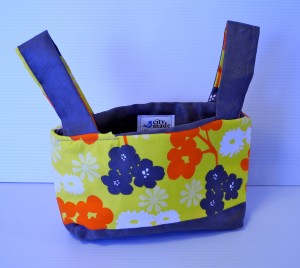
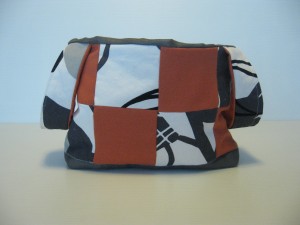
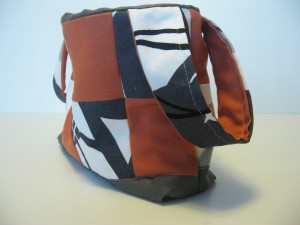
Next, we wanted something a bit bigger. We made this one for good-friend-of-citymade, Michele. We used some orange combined with the fabric from (we never waste a scrap of fabric!).

This basket is big enough to put books or magazines in.

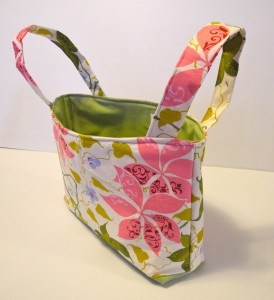
Then, good-friend-of-citymade, Mary G., asked us to make a large basket for a fundraiser at her daughter’s school. She wanted it to coordinate with a print of  painting she did. The colors were earthy greens and soft whites. But, we also wanted the basket to stand out, so people would want to buy it.

We were really pleased with the finished product. It’s colorful yet elegant and large enough for a really BIG chocolate bunny!

If you like our fabric baskets, we have a small one for sale at our etsy shop. Or send us and email and we can custom make it for you.

Posted in Bags, Home Decor, Organization | Tagged , | 3 Comments

More Birthday fun

Continuing on with showcasing our Birthday projects. . .yes, I know Birthday month was March, but better late than never, right?

Anyway. This was a gift for Birthday girl, Lauren. She turned 4 this year. (Since it was Melany’s daughter’s birthday, I (Carol) flew solo on this project, but have no doubt Melany could make it and probably better, too).

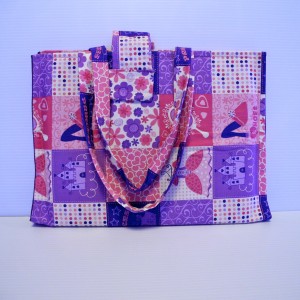
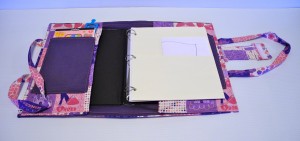
Lauren is always trying to keep up with big girls, Anna and  Ava. Both girls posses a most important three ring binder in which they keep various art work, pictures, etc. I thought, being 4 and all, it was Lauren’s turn to have a binder. But I kicked it up a notch by making a fabric cover to put the binder in.

I also added 2 side pockets

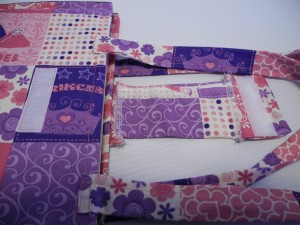
A velcro closure (so the binder can hold plenty)

and finally, long handles.

After her birthday Lauren added some art.

You better believe that the “big” girls have both put in their orders for the binder covers.

Posted in Accessories, Kids, Organization | Tagged , | Leave a comment

Sewing, sewing, sewing

Melany and I have been busy with lots of fun sewing projects. (We just have to find the time to post them).

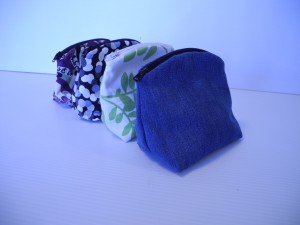
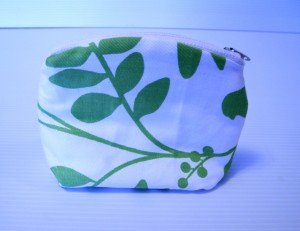
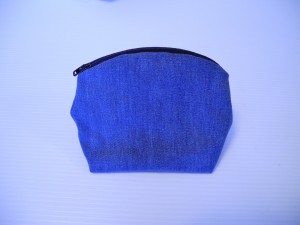
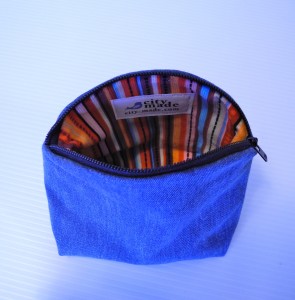
Here is one of the fun sewing projects. The mini make-up bag.

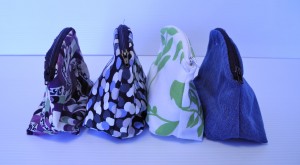
As we know, once I (Carol) start making something, I can’t stop until it is out of my system. So, I sewed a bunch of them.

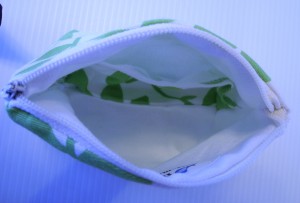
I needed the practice to sew a curved zipper (yay zippers!) and I was able to make them pretty fast

Easy, fast and fun! We love it.

If you love them check out our etsy shop. We have 2 of them for sale.

Posted in Accessories, Bags, Easy | Tagged , , | Leave a comment

. . .and we're back!

Wow. It is good to be back. Between baby Caroline and birthday month, we have been busy at citymade.

We have also been busy sewing and creating. Celebrating so many birthday’s in the month of March presented us with an opportunity to make hand made gifts for people. For the next few posts, we will feature some of those hand made gifts.

Natalie’s Birthday jewelry holder.

Friend-of-citymade, Heidi’s beautiful daughter Natalie celebrated her 9th birthday (Carol: I still remember going to see her the day after she was born. She had the tiniest finger nails I had ever seen!). Natalie wears some pretty jewelry and so we thought of this jewelry holder for her.

We have a bunch of this very pink, but just enough black to make it not too pink, fabric (you will be seeing a lot of it in the coming posts)

and I (Carol)  am crazy for zippers and have a ton of them (thank you zipit at etsy!) we were able to create a 2 pocket holder for jewelry,

plus a ribbon to tie on your rings.

We hope she loves it and we love her!

Posted in Accessories, Organization | Tagged | Leave a comment

citymade baby! Yay!

Here’s a project that was nine months in the making. Caroline Grace was born Tuesday, March 8, 2011.

She’s a beauty and a project that Melany (o.k., and Jeff) should really be proud of.

Welcome to the world, Caroline.

Posted in baby, Kids | Tagged | Leave a comment

March citymake-of-the-month: DIY Door Organizer

This month our city-make is a do-it-yourself. You all know that we love to sew but I am sure that there are many of you out there who share this love of sewing.  With the citymade baby coming any day now we decided to make our March Make a tutorial so that those of you who like to sew can make one.  We at citymade are all about learning new skills so here is our first tutorial.

It’s almost spring and that means spring cleaning!  Here is a project to help you get organized.

Door Organizer
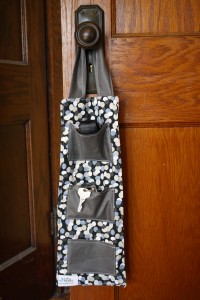
You will need:

1 yard of fabric. (We used 2 contrasting fabrics. One for the pockets and handle and one for the main body.)
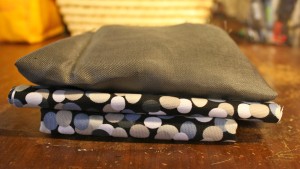
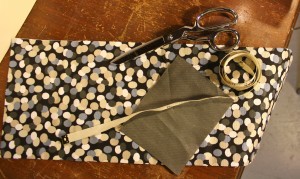
You will also need thread and your sewing machine. Serger is optional. We like to use it, but it is not necessary. The same goes for facing. We put  iron-on facing on the pockets to make them stronger, but you don’t have to.

1. Cut your fabric:

Cut two 18″x7″ rectangles for the body,  three  4″x5 1/2″ rectangles for the pockets and one  12″x4″  rectangle for the handle.

2. Make the Pockets:

Serge all around the edge of the pockets (optional).
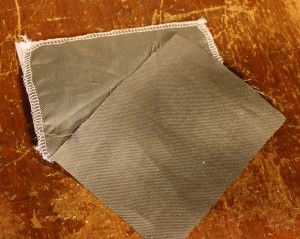
Turn under top on all 3 pockets ,about 1/2″, press and sew. (note: if you did not serge around the pockets then you will need to turn the top edge of the pocket over twice so that it will not fray)
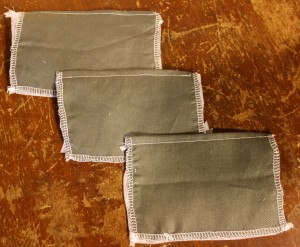
Press in remaining 3 sides of pockets a 1/2″.
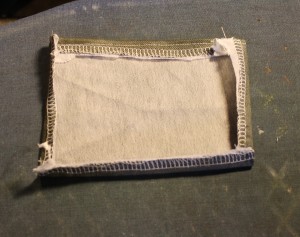
3. Pocket Placement

Place the first pocket  on the right side, 2″ from the top of the main body. Pin the sides and bottom of pocket.
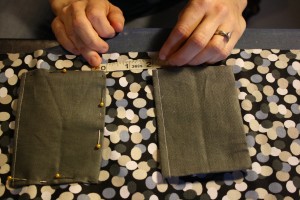
Place the next pocket 2″ from the first and pin. Repeat with the third pocket.

Topstitch the sides and bottom edges of the pockets onto the main body.  Set aside.

4. Make the Handle:

Take your 12″x4″ rectangle. Fold  one long side 1/2″ (so that it meets in the middle) and press.
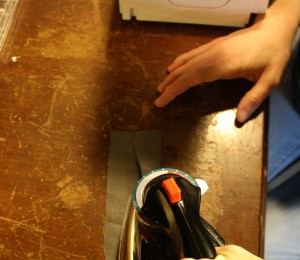
Then repeat with the other side. Now fold it in half lengthwise and pin.
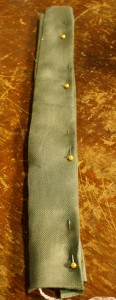
Sew along the open edge 1/8″ in.
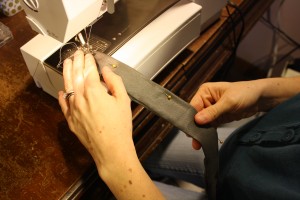
5. Handle Placement:

Place the handle on back piece of the main body:

Pin the handle to the top on the right side of the fabric.
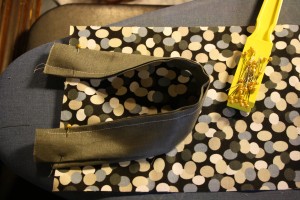
Handle should be laying on the right side. You will sew the handle on when you sew the organizer together.

6. Add Label:

Here is where you will add a label if desired.  We placed ours on the front main body piece and the bottom.
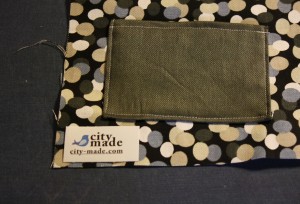
7. Construct the organizer:

Pin one main body piece, right sides together with the other main body piece on 3 sides (leave the bottom open). Make sure the handle is still in place.  Sew.

Trim edges (we like to use pinking shears).  Flip the organizer to the right side using the handle to pull out the right side.  We like to use a chopstick to push out the corners.
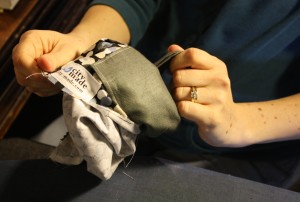
Press.
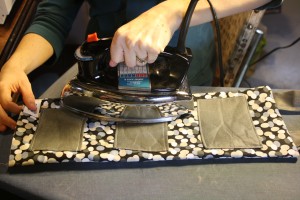
8. Finish your organizer:

Press in 1/4″ of the  open bottom and pin.

Topstitch all around the organizer about 1/4″ in, starting with the bottom.
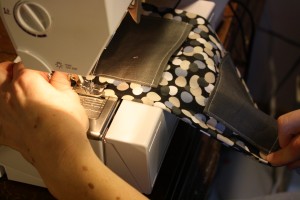
Press and you are done!

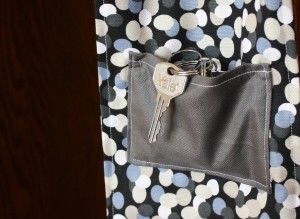


Posted in Organization, Tutorial | Tagged , | Leave a comment

Mary's Baby Shower Gift

Friend of citymade, Mary A., is having a baby boy! YAY! We wanted to do something special for Mary’s baby, while keeping our gifts handmade. Lucky for us, we know the very talented artist/designer Kendra Shedenhelm.

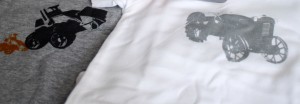
Kendra and Carol went to middle and high school together. Kendra lives in Brooklyn and designs t-shirts and onesies for babies and kids. You can find her t-shirts/onesies here at her Etsy shop  big bridge studios. I really encourage you to check out her stuff. She is immensely  talented. She is also super generous to citymade and has sent us various textiles to up-cycle.

I looked around at her Esty shop and found 2 adorable onesies for Mary’s babe.

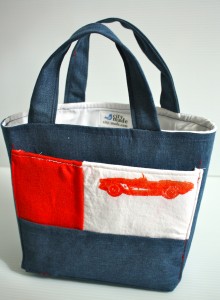
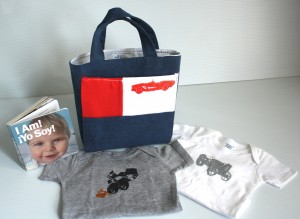
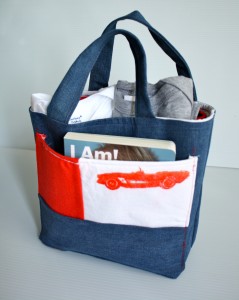
We made a gift bag and used one of Kendra’s “botched” tshirts (that she had sent us to up-cycle) for the pocket. The outside of the bag is an old denim shirt and the lining is an old men’s dress shirt (triple re-purpose!)

Kendra is also the designer (her sister Kelli is the author) for the baby book I Am ! Yo Soy! . It is a great book with lots of pictures of babies, including Kendra’s adorable son!

Melany and I decided to add that to Mary’s gift bag.

Finally, Melany made a handy wall tote, because with all that baby stuff, it has to be put somewhere.

All the gifts. . . .

. . .fit inside. . .

. . .and Mary loved them and we love her!

THANK YOU, KENDRA!! We love you, too!

Posted in Uncategorized | 2 Comments

Car Seat Redo

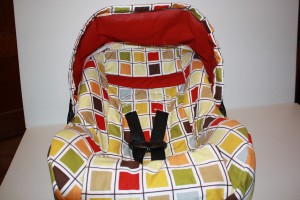
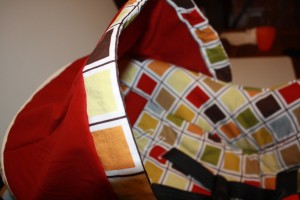
Citymade is pretty proud of this next  project. Recovering a car seat was a big undertaking but it was fun to see it take shape.

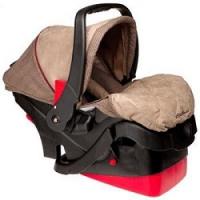
This is what the original car seat looked like, before it had been through four babies.

It was pretty worn out and had some tears in the sun shade but I couldn’t justify buying a new car seat knowing that we could just recover this one.

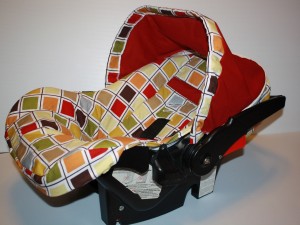
By taking apart the old car seat cover we created pattern pieces for the new one.

Many hours and quite a few pin pokes later we had our finished product

Our secret: we just took it piece by piece and and took a lot of deep breaths (great labor preparation for me).

Posted in Kids | 1 Comment

Baby Quilt

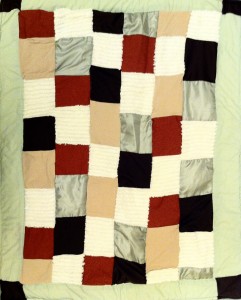
This quilt was definitely a last minute nesting project. It becomes really hard for me to just sit and relax at the end of my pregnancies. I feel better when I am doing something, especially if it is in preparation for the new baby. I have a lot of pretty pink blankets and quilts but not many gender neutral blankets. Since we do not know the sex of the baby I “needed” to make this quilt before baby arrived.
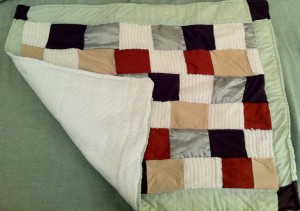
There was no time for a trip to the fabric store so this baby quilt was made from a variety of re-purposed fabrics of different colors and textures.

We backed the quilt with a cream pre-quilted fabric and used a cotton batting for extra warmth and comfort.

Posted in Kids | Tagged , | Leave a comment