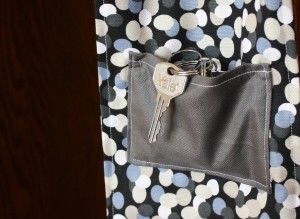
This month our city-make is a do-it-yourself. You all know that we love to sew but I am sure that there are many of you out there who share this love of sewing. Â With the citymade baby coming any day now we decided to make our March Make a tutorial so that those of you who like to sew can make one. Â We at citymade are all about learning new skills so here is our first tutorial.
It’s almost spring and that means spring cleaning! Â Here is a project to help you get organized.
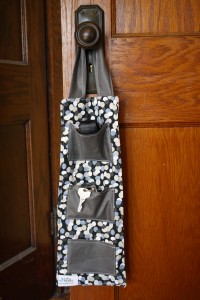
Door Organizer
You will need:
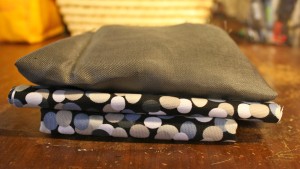
1 yard of fabric. (We used 2 contrasting fabrics. One for the pockets and handle and one for the main body.)
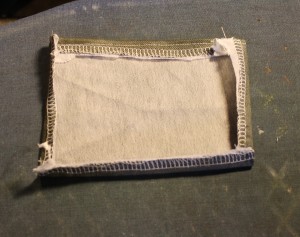
You will also need thread and your sewing machine. Serger is optional. We like to use it, but it is not necessary. The same goes for facing. We put  iron-on facing on the pockets to make them stronger, but you don’t have to.
1. Cut your fabric:
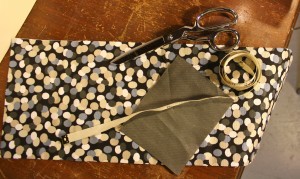
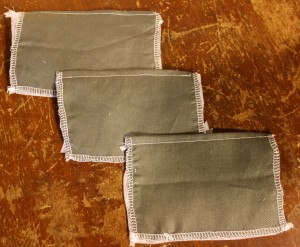
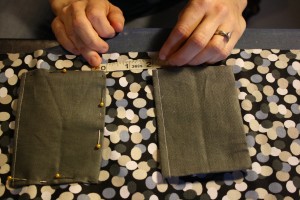
Cut two 18″x7″ rectangles for the body,  three  4″x5 1/2″ rectangles for the pockets and one  12″x4″  rectangle for the handle.
2. Make the Pockets:
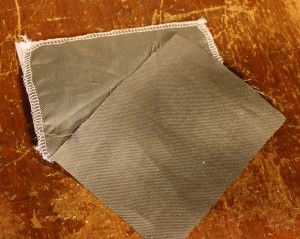
Serge all around the edge of the pockets (optional).
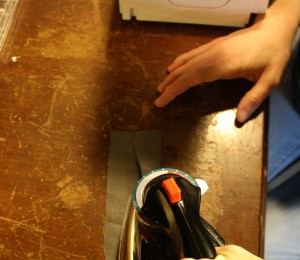
Turn under top on all 3 pockets ,about 1/2″, press and sew. (note: if you did not serge around the pockets then you will need to turn the top edge of the pocket over twice so that it will not fray)
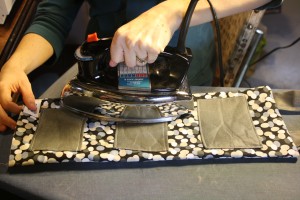
Press in remaining 3 sides of pockets a 1/2″.
3. Pocket Placement
Place the first pocket  on the right side, 2″ from the top of the main body. Pin the sides and bottom of pocket.
Place the next pocket 2″ from the first and pin. Repeat with the third pocket.
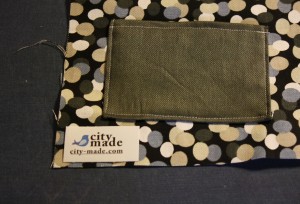
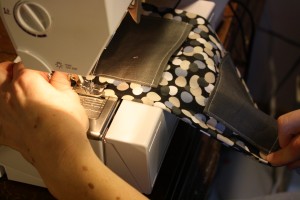
Topstitch the sides and bottom edges of the pockets onto the main body. Â Set aside.
4. Make the Handle:
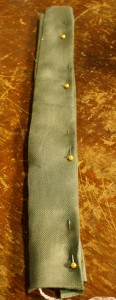
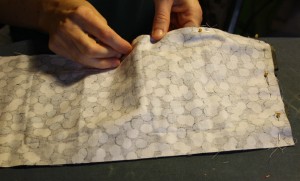
Take your 12″x4″ rectangle. Fold  one long side 1/2″ (so that it meets in the middle) and press.
Then repeat with the other side. Now fold it in half lengthwise and pin.
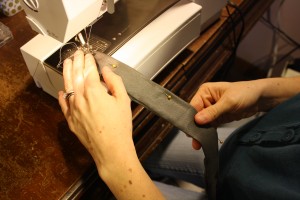
Sew along the open edge 1/8″ in.
5. Handle Placement:
Place the handle on back piece of the main body:
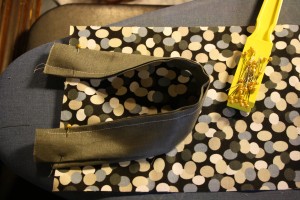
Pin the handle to the top on the right side of the fabric.
Handle should be laying on the right side. You will sew the handle on when you sew the organizer together.
6. Add Label:
Here is where you will add a label if desired. Â We placed ours on the front main body piece and the bottom.
7. Construct the organizer:
Pin one main body piece, right sides together with the other main body piece on 3 sides (leave the bottom open). Make sure the handle is still in place. Â Sew.
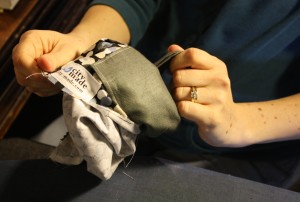
Trim edges (we like to use pinking shears). Â Flip the organizer to the right side using the handle to pull out the right side. Â We like to use a chopstick to push out the corners.
Press.
8. Finish your organizer:
Press in 1/4″ of the  open bottom and pin.
Topstitch all around the organizer about 1/4″ in, starting with the bottom.
Press and you are done!

